How to Build AI Agents Locally with Python & LLMs from Scratch (A Non-Developers Guide)


- 1. What We Are Building (Simple AI Agent System)
- 2. Tools Required to Build Local AI Agents
- 3. Step-by-Step Setup to Build AI Agents from Scratch
- 3.1. Step 1 — Install Python
- 3.2. Step 2 — Install Ollama (Run AI Locally)
- 3.3. Step 3 — Download a Local AI Model
- 3.4. Step 4 — Create Project Folder
- 3.5. Step 5 — Create Virtual Environment
- 3.6. Step 6 — Activate Virtual Environment
- 3.7. Step 7 — Install Required Libraries
- 3.8. Step 8 — Building the AI Agent Logic with Python
- 3.9. Step 9 — Create the Backend Server Using FastAPI
- 3.10. Step 10 — Create the Frontend Setup (Web Interface)
- 3.11. Step 11 — check the Project Structure
- 3.12. Step 12 — Start the Server
- 3.13. Step 13 — Open the Web Application
- 4. How the AI Agent System Works
- 4.1. Breakdown:
- 5. Real-World Performance & Limitations
- 5.1. On low-end systems (4GB RAM):
- 5.2. Limitations:
- 5.3. But advantages:
- 6. Common Issues and Fixes
- 6.1. 1. Model Not Responding
- 6.2. 2. Frontend Not Updating
- 6.3. 3. Slow Output
- 7. Conclusion
- 8. FAQ (People Also Ask)
- 8.1. 1. Can I build AI agents without using APIs?
- 8.2. 2. What is the easiest way to create an AI agent?
- 8.3. 3. How much RAM do I need?
- 8.4. 4. Is Python required to build AI agents?
- 8.5. 5. Can I improve the output quality?
If you’ve been wondering how to build AI agents without relying on paid APIs or cloud tools, this guide will walk you through a real, tested setup that runs completely on your own machine.
In this tutorial, you’ll learn how to build AI agents step by step, using Python, local models, and a simple web interface. This isn’t a theoretical explanation — it’s based on an actual working project, including errors, fixes, and limitations you’re likely to encounter.
By the end, you’ll have your own local AI agent system that can:
- Generate blog articles
- Stream responses live in a browser
- Create image prompts
- Run fully offline (after setup)
What We Are Building (Simple AI Agent System)
We’re creating a basic but powerful AI system with two agents:
- Writer Agent → Generates blog content
- Image Agent → Creates image prompts based on the article
All of this runs locally using:
- Python backend
- FastAPI server
- LangChain for AI interaction
- Ollama for local LLM execution
Tools Required to Build Local AI Agents
Before we start creating an AI agent, here’s what you’ll need:
- Python (3.11 or newer)
- Ollama (for running models locally)
- A code editor (VS Code recommended)
- Basic terminal usage (Command Prompt / PowerShell)
Disclaimer:
We tested this setup, and it works great — your laptop shouldn’t explode (we hope 😅). Just follow the steps properly and don’t copy-paste random commands from elsewhere. If something breaks, take a breath… and maybe don’t blame TrendVerse.
Step-by-Step Setup to Build AI Agents from Scratch
Let's start with creating an AI agent for generating an article form the the prompt
Step 1 — Install Python
Python handles the backend logic and AI integration.
Go to: https://www.python.org/downloads/
Download Python 3.11 or newer
Run the installer
⚠ Important: Enable
Add Python to PATH (while installing)
Verify Installation
Open Command Prompt & Run:
python --versionThe Command Prompt Expected output will be:
Python 3.x.x
If you see this, you're good to go.
Step 2 — Install Ollama (Run AI Locally)
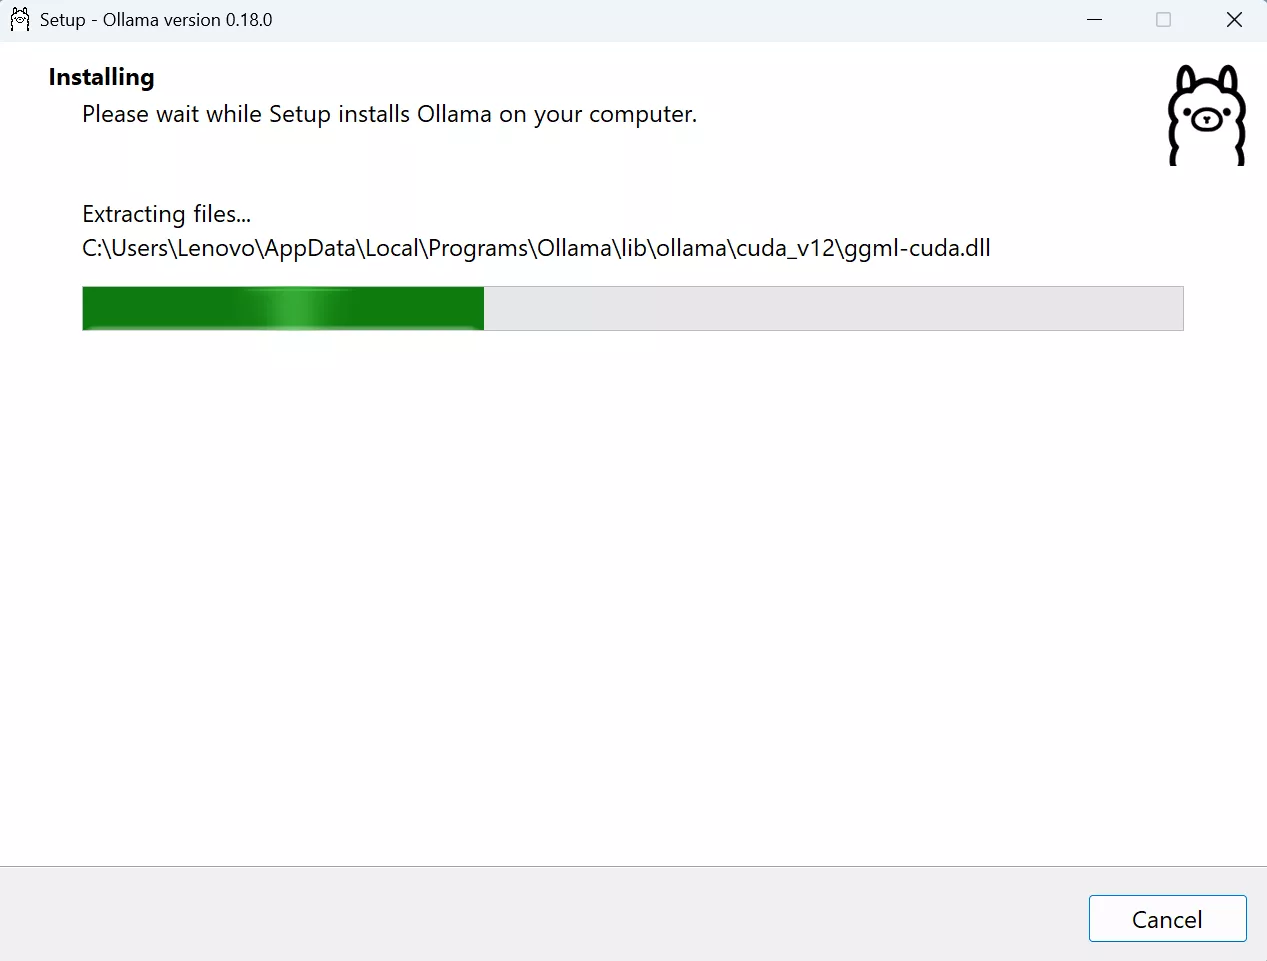
Ollama allows you to run AI models directly on your system.
- Visit: https://ollama.com/download
- Download and install
Verify the installation - Open Comand Prompt & run:
ollama --versionIf it shows a version number, installation is successful.
Step 3 — Download a Local AI Model
Now we install a lightweight model.
Open Command Prompt and Run:
ollama pull tinyllamaSize: ~600 MB
Test the Model. In the CMD run:
ollama run tinyllamaIt was ask for any topic try: What is artificial intelligence.
If it answers then the model is installed successfully.
Type the command to exist:
/byeNote: While testing, It caused "error model requires more system memory (4.6 GiB) than is available". So in order to use model make sure you have required adequeate RAM above (4 GiB). This is critical if you're trying to build AI agent locally on low-end systems.
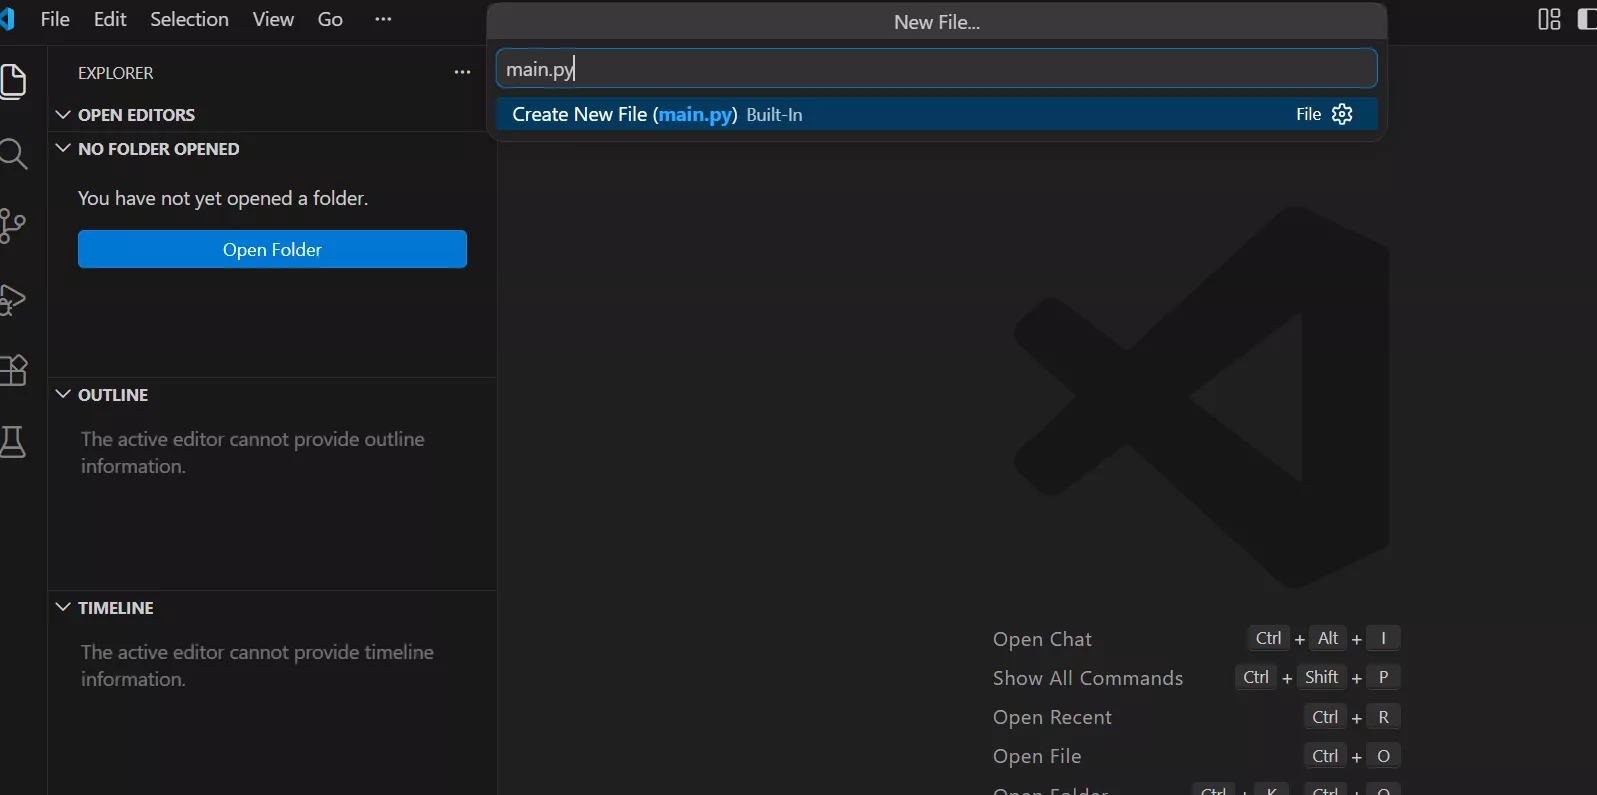
Step 4 — Create Project Folder
Create a folder any where you want and name it like:
"ai-content-tool"
Then,
Open it → click address bar → type:
"powershell"
Press Enter.
Step 5 — Create Virtual Environment
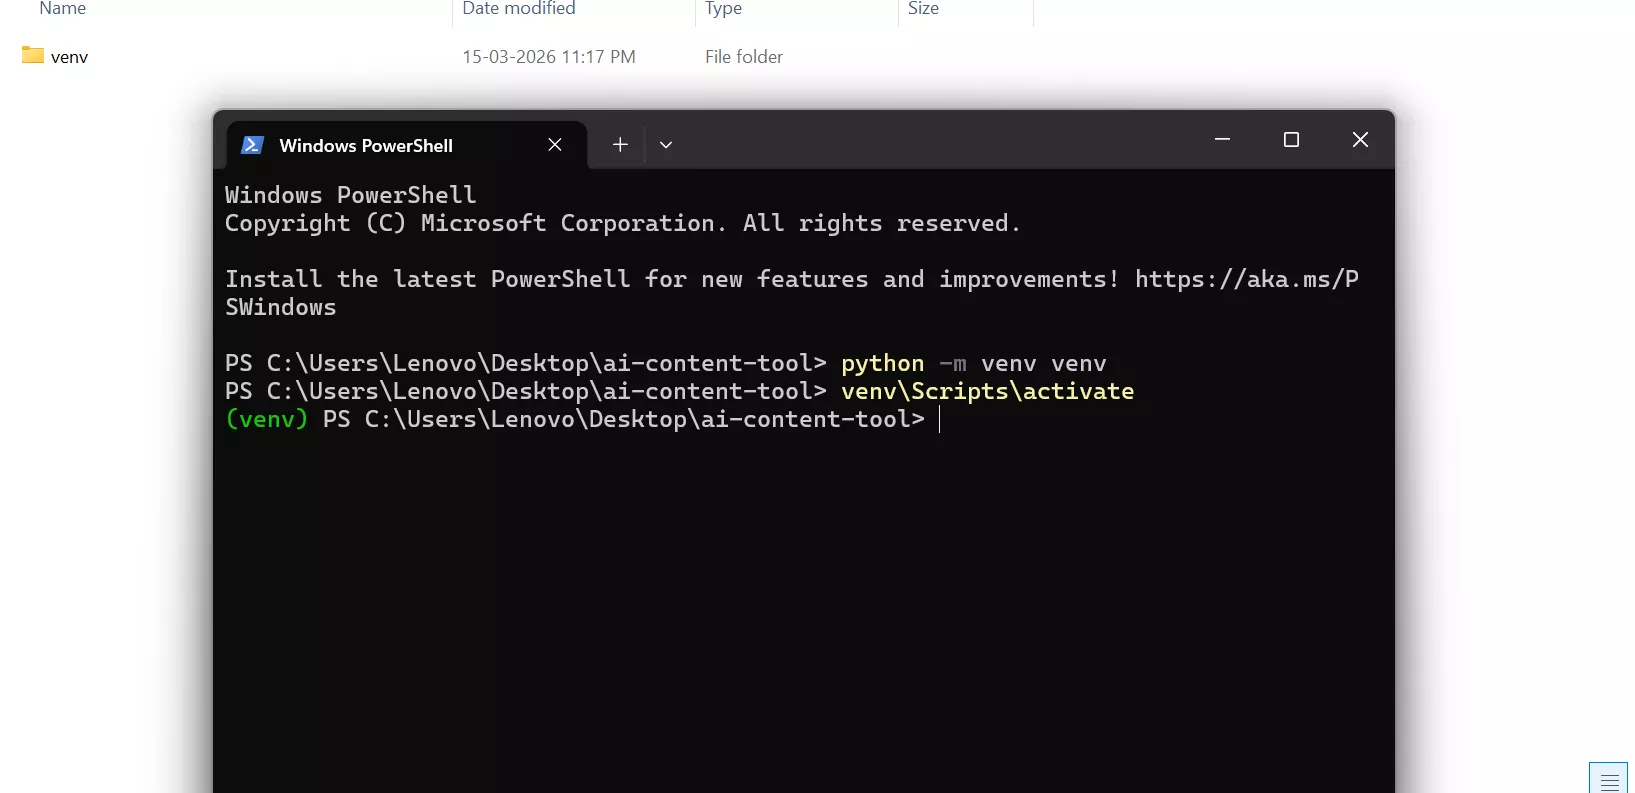
In the powershell type:
python -m venv venvPress Enter
Result:
A folder should be created named venv within the project folder.
This keeps dependencies isolated.
Step 6 — Activate Virtual Environment
Then in the same powershell type:
venv\Scripts\activatePress Enter
Note: Sometime it may be possible that PowerShell show an error like "running scripts is disabled on this system" while activating.
Fix:
Click on start button → serach powershell → Click on Run as administrator
It will open a new powershell.
Type & Run:
Set-ExecutionPolicy RemoteSignedType:
YPress Enter and close the new powershell.
Then go the back to the previous powershell (the one we created inside the project folder) and run the activatation command again.
Step 7 — Install Required Libraries
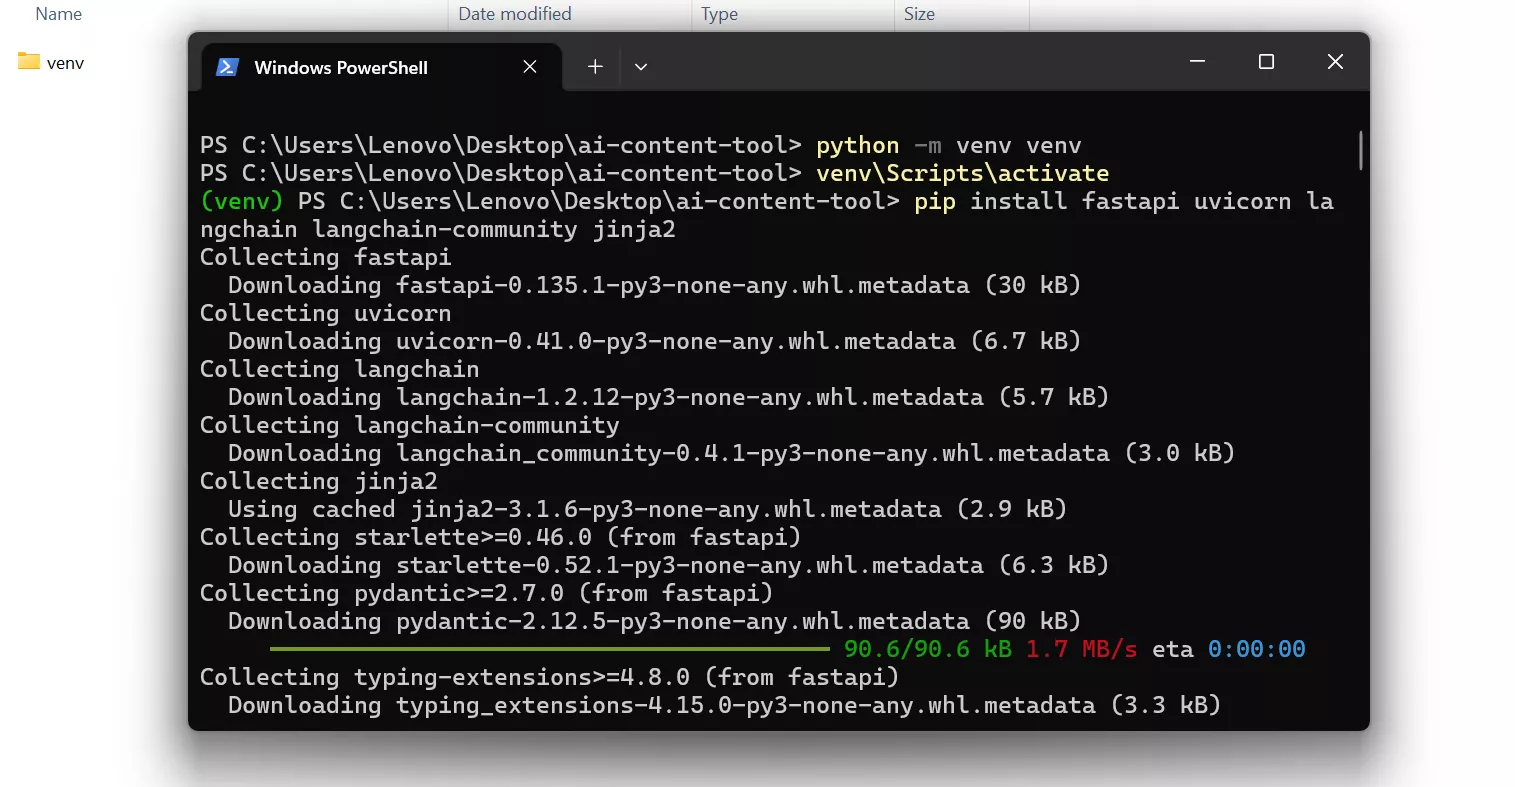
In the that same powershell type & run:
pip install fastapi uvicorn langchain langchain-community jinja2What it does is it installs:
- FastAPI → backend server
- Uvicorn → runs server
- LangChain → AI integration
- Jinja2 → HTML rendering
Step 8 — Building the AI Agent Logic with Python
Note: For upcoming steps we will be using Visual Studio Code. It's simple to use, performs well and mostly supports every kind of language with options to download plugins/extensions.
After installing, open VS Code and create a new file named “agents.py” and save it inside the project folder (ai-content-tool).
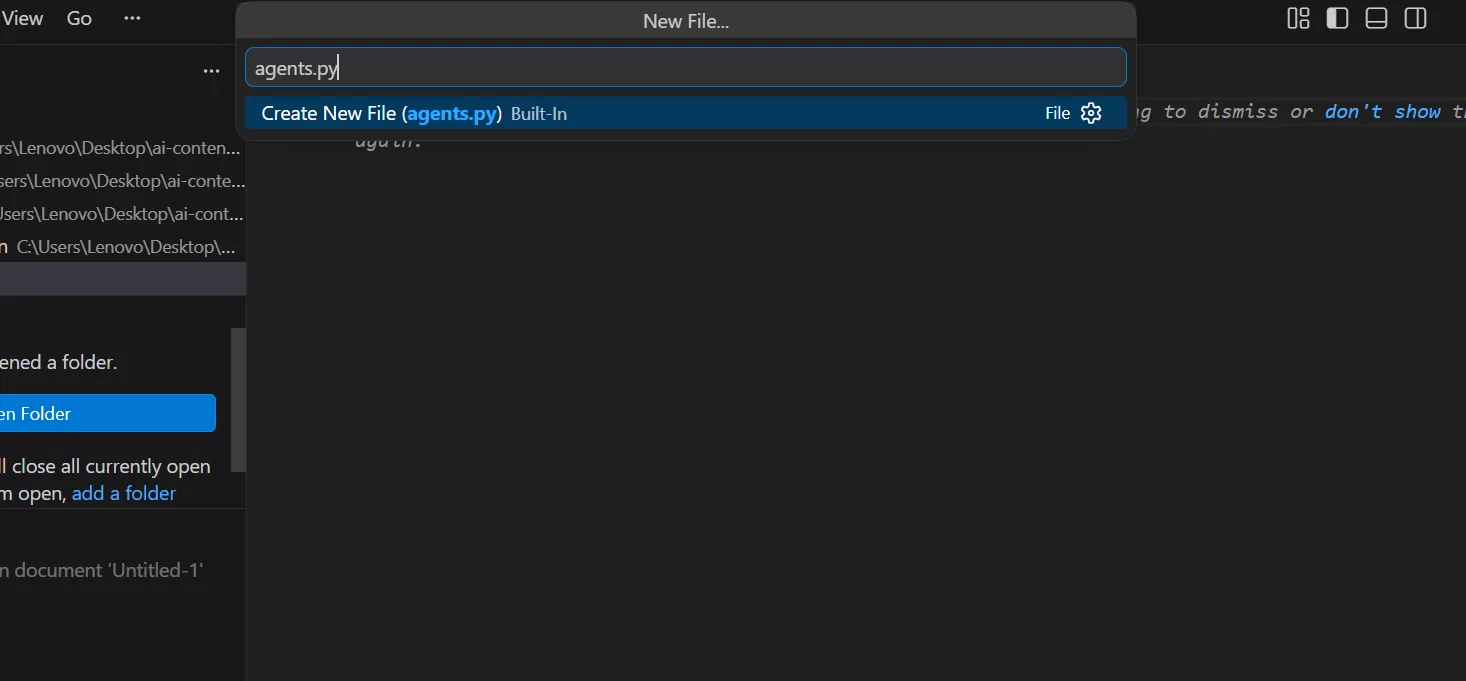
Then add the following code in the agents.py file:
from langchain_community.chat_models import ChatOllama

llm = ChatOllama(model="tinyllama")

def writer_agent_stream(topic):

   prompt = f"""
Write a well formatted blog article about {topic}.

Requirements:
- use headings
- add paragraph breaks
- include bullet lists when helpful
- keep under 400 words
"""

   for chunk in llm.stream(prompt):
       yield chunk.content


def image_agent(article):

   prompt = f"""
Create 3 AI image generation prompts based on this article:

{article}
"""

   return llm.invoke(prompt).content
Step 9 — Create the Backend Server Using FastAPI
In the same way create a new file named “main.py” and save it inside the project folder (ai-content-tool).
Then add the following code in the main.py file:
from fastapi.responses import StreamingResponse
from fastapi import FastAPI, Request
from fastapi.templating import Jinja2Templates
from agents import writer_agent_stream, image_agent

app = FastAPI()

templates = Jinja2Templates(directory="templates")


@app.get("/")
def home(request: Request):
   return templates.TemplateResponse("index.html", {"request": request})


@app.get("/generate")
def generate(topic: str):

   def stream():

       article_text = ""

       for chunk in writer_agent_stream(topic):
           article_text += chunk
           yield chunk

       yield "\n\n--- IMAGE PROMPTS ---\n\n"

       images = image_agent(article_text)

       yield images

   return StreamingResponse(stream(), media_type="text/plain")
Step 10 — Create the Frontend Setup (Web Interface)
Create templates folder inside the project folder (ai-content-tool) and then create a new file named “index.html” inside templates folder through VS Code in same way as we previous did.
Then in the index.html file add the following code:
<!DOCTYPE html>

<html>

<head>

<title>AI Content Tool</title>

<style>

body{
font-family:Arial;
background:#0f172a;
color:white;
text-align:center;
padding:40px;
}

input{
width:400px;
padding:12px;
border-radius:6px;
border:none;
}

button{
padding:12px 20px;
background:#38bdf8;
border:none;
border-radius:6px;
cursor:pointer;
}

#result{
margin-top:40px;
max-width:800px;
margin:auto;
text-align:left;
white-space: pre-wrap;
line-height:1.6;
}

</style>

</head>

<body>

<h1>AI Content Creation Tool</h1>

<input id="topic" placeholder="Enter article topic">

<button onclick="generate()">Generate</button>

<div id="result"></div>

<script>

async function generate(){

let topic=document.getElementById("topic").value;

document.getElementById("result").innerHTML="🤖 AI is writing your article...\n\n";

let response=await fetch(`/generate?topic=${encodeURIComponent(topic)}`);

const reader=response.body.getReader();

const decoder=new TextDecoder();

while(true){

const {done,value}=await reader.read();

if(done) break;

let text=decoder.decode(value);

document.getElementById("result").innerHTML+=text;

}

}

</script>

</body>

</html>
Step 11 — check the Project Structure
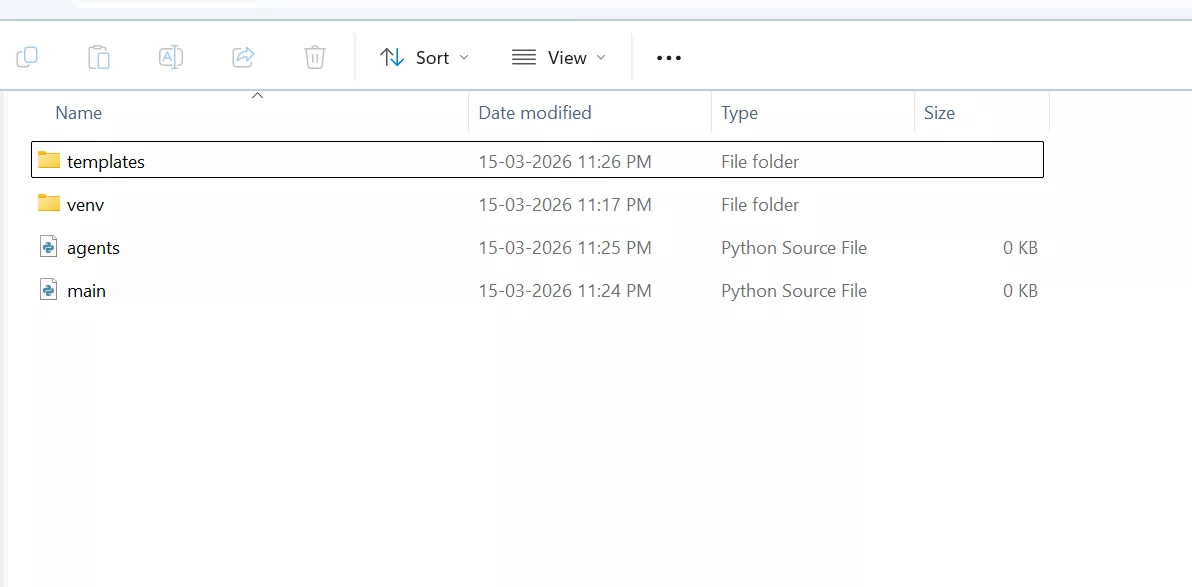
Inside your project folder structure should look like this:
ai-content-tool
│
├── main.py
├── agents.py
└── templates
     └── index.html
Important:
The templates folder must exist for FastAPI to serve the webpage.
Step 12 — Start the Server

Inside the project folder open powershell again and run:
python -m uvicorn main:app --reloadIf successful you will see:
Uvicorn running on http://127.0.0.1:8000Step 13 — Open the Web Application
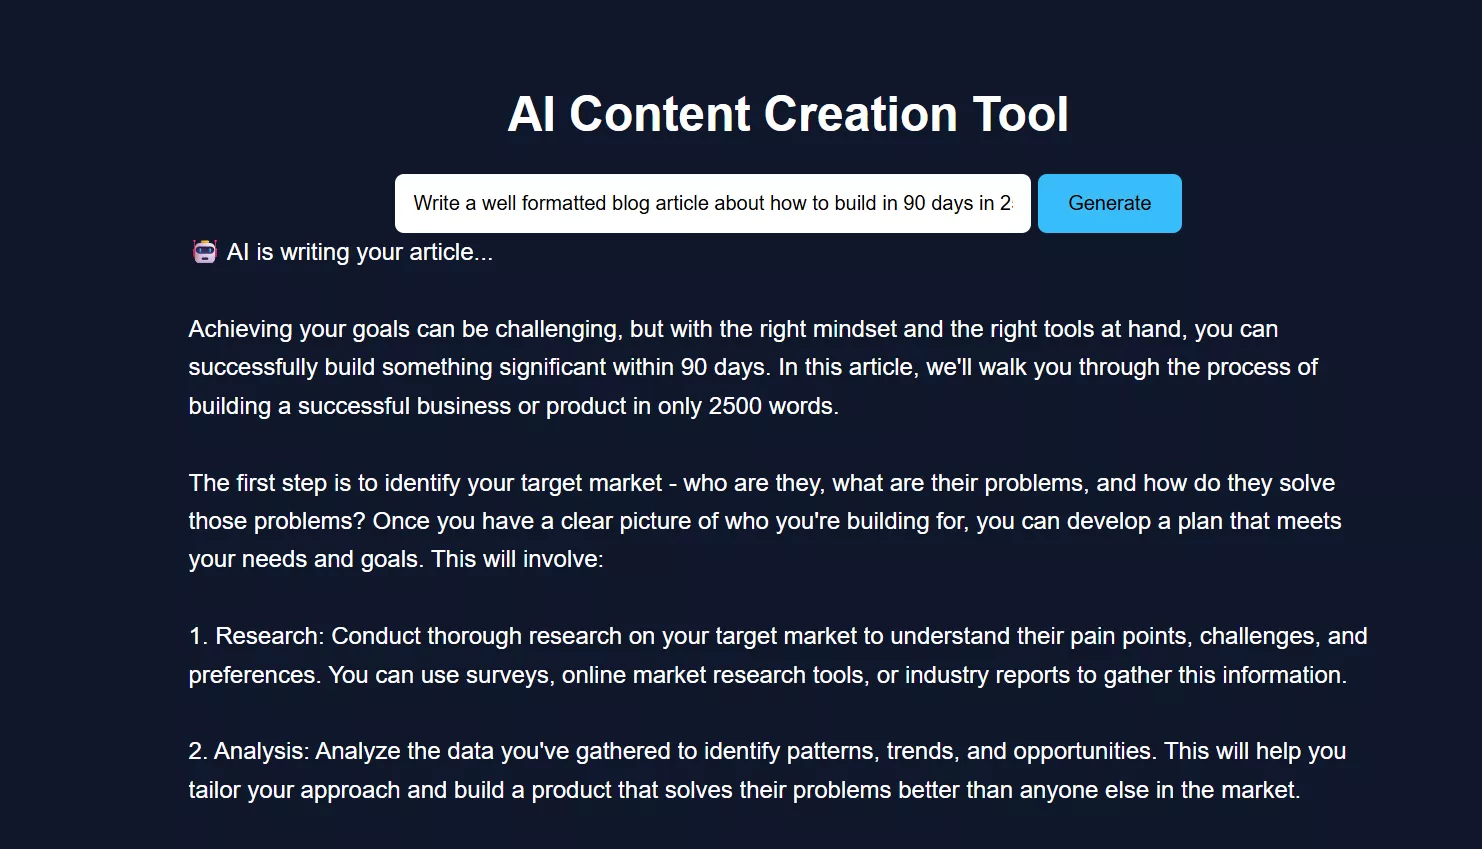
Open your browser and go to:
http://127.0.0.1:8000You will see the AI Content Creation Tool.
Enter a topic and click Generate.
The article will appear live as it is generated, followed by image prompts.
How the AI Agent System Works
Here’s the actual flow:
Browser UI
↓
FastAPI Server
↓
LangChain
↓
Ollama Model
Breakdown:
-
User enters topic
-
Backend sends prompt to model
-
Model streams response
-
Backend forwards chunks to UI
-
Image prompts generated afterward
This is a practical example of how to build an AI system using modular agents.
Real-World Performance & Limitations
From actual testing:
On low-end systems (4GB RAM):
-
Must use small models like tinyllama
-
Response speed is slower
-
Streaming improves perceived speed
Limitations:
-
Output quality lower than GPT-4-level models
-
Occasional repetition
-
Not ideal for complex reasoning
But advantages:
-
Fully offline
-
No API cost
-
Complete control
Common Issues and Fixes
1. Model Not Responding
-
Ensure Ollama is running
-
Re-run:
ollama run tinyllama
2. Frontend Not Updating
Possible causes:
-
Streaming not supported in browser
-
JavaScript fetch issues
Fix:
-
Refresh page
-
Check browser console
3. Slow Output
Reason:
-
Local CPU processing
Fix:
-
Use smaller prompts
-
Avoid large models
Conclusion
Now you’ve learned how to build AI agents from scratch, using a real, working setup — not just theory.
This project demonstrates that even with limited hardware, you can:
-
Build local AI tools
-
Understand how agents work
-
Run everything without APIs
If you're exploring creating an AI agent for beginners, this is one of the best starting points because it shows both the build process and real-world challenges.
FAQ (People Also Ask)
1. Can I build AI agents without using APIs?
Yes. This guide shows how to run models locally using Ollama, so no API is required after setup.
2. What is the easiest way to create an AI agent?
Start with a simple use case like a content generator. Use tools like Python, FastAPI, and a local model.
3. How much RAM do I need?
-
Minimum: 4GB (use tiny models)
-
Recommended: 8GB+ for better performance
4. Is Python required to build AI agents?
For this setup, yes. Python is used for backend logic and integrating AI models.
5. Can I improve the output quality?
Yes:
-
Use larger models (if hardware allows)
-
Improve prompts
-
Add more structured instructions

Comments (0)
Leave a Comment